Thursday, October 22, 2020

3D Art Week 09

Cannon Project Part 01

This week we upgraded from building a crate to building a cannon. We only built a proxy though so that we can set it up in unreal and establish the 3D art pipeline. Below is the concept I chose for this project. This concept is from the game, "Sea of Thieves" (could not find artist name). I wanted to try doing a slightly more stylized model.


These orthographics were especially helpful in making sure all the pieces were the right size in relation to each other. 

I also made a texture board for how these materials would react to light. I definitely plan on staying faithful to the design but this gives me a better understanding for when messing with the attributes of the materials.


Below is my proxy.


Here is the size relationship between my proxy and the UE4 mannequin.


After creating the proxy cannon, I modeled the ground and some plants.


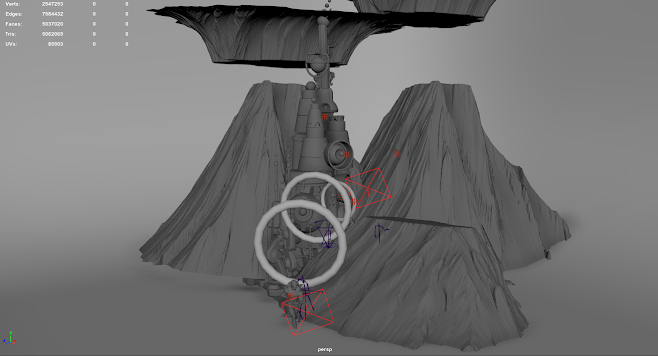
All these assets where then brought into UE4.


It seems like there are some UV issues to fix as seen with how the light reacts to the opening of the cannon and parts of the wood pieces. Those will be addressed later in the next blog post.

Thursday, October 15, 2020

Common Art Week 07

Make our own piece!

This week we were given free reigns to do whatever we wanted. It is currently Fall so I decided to make a pub called "The Pumpkin Pub."

Below are the references that were used. The artist, Elodie Mondolini, was a huge inspiration for the style that I was trying to achieve.


I first created a rough sketch to figure out composition and then modeled the shapes in Maya. I added some color to see how the light would really react with certain colors.


Below is the beauty pass I ended up using.


And here is the final result after painting over it in Photoshop.


I was very pleased with how this turned out. Personally, I feel like this piece has been groundbreaking for me because I finally feel like I'm getting a good understanding of how to use 3D to my advantage in creating concept art. I also feel like I really improved in my rending of stone and wood.
Sunday, October 11, 2020

3D Art Week 07

Crate Part 3

This week, we textured our crate in substance and took it into UE4 to take high res screenshots and a video for portfolio.

Here is my texture seen in Substance Painter.


Below are the shots and video taken in UE4.


Thursday, October 8, 2020

Common Art Week 06

Use of Perspective

This week we focused on 1, 2 and 3, point perspective. We had to build 4 different models and use them in our scene and render out these 3 different perspectives. Below I have images that inspired me for this assignment.


These are the models I built to create a small environment for me to take different shots in.

After setting up my cameras, I was able to render out the shots shown below.


1 Point Perspective


2 Point Perspective


3 Point Perspective

I decided to take my 2 point perspective further by editing it in photoshop with its different render passes and then painting over it. I only used the ID, auto occlusion and the shadow render pass.


Using the ID pass, I was able to easily select my objects and create solid masks to fill them in. Solid masks allowed me to easily change the colors as until I was satisfied with the palette. Below are the base colors I used.


After having my base colors down, I began experimenting with how I really wanted the lighting to be.


Once I had a better idea of where I was going with everything, I began to paint over it all and came to this final result.


I'm pleasantly surprised with how this piece came out. I wasn't very confident about it in the beginning but the painting definitely improved as I kept working on it (as do all paintings).

Friday, October 2, 2020

3D Week 06

Crate Part 02

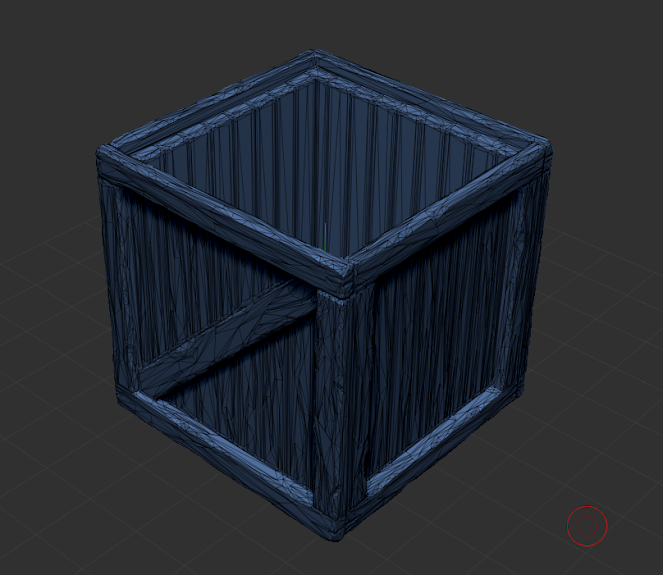
This week we brought our crate into ZBrush and made a high poly version of it. After, we made a low poly version of the crate to later bring into Substance Painter to bake the high poly model onto the low poly model.

I first exported the crate from Maya into ZBrush.


In Zbrush, I was able to edit the exported mesh into the higher poly crate seen on the right.


Below is the decimated model, prepared to be exported from ZBrush.


Here is new topology made over the high poly crate. This is one method for creating a lower poly model.


Seen below is a picture of the high poly crate compare to the low poly crate.


Here are the UV's of the crate. I tried using up as much space as I could for more detailed textures in the future.


Once the low poly model's UV's were done, I exported it into Substance Painter to bake the high poly mesh on top of it.


Thursday, October 1, 2020

Common Art Week 05

Use of Composition

This week we focused on composition. We kitbashed different models given to us to create the base of our composition. Below is my kitbashed scene made up of different models provided. I wanted to set up an interesting composition first (using the Golden Rule) before focusing on the style of my piece. 

Below are the images taken in photoshop, both lit and unlit. Everything in the shot such as the models and lighting were meant to help with placement for when I paint over the render in photoshop.


Once my composition was set, I looked for inspiration on how I wanted the style of my piece to be and what color palette I would have liked to have. My board of inspiration is seen below.


After bringing the render into photoshop, I started painting over the piece by doing my line art for a clear, clean drawing as my base. I later followed by putting down my base colors to act like id's in terms of making it is easy to select different parts of the drawing based on the different colors.


After completely painting over everything, this was the final result.


I'm definitely happy with how it came out. Setting everything up in Maya first really helped give me a good foundation for the placement and lighting of the piece.