Sunday, September 27, 2020

3D Week 05

Crate Part 01

This week we learned how to do a proper proxy crate model and how to use it to establish scale in the UE4 game engine. After establishing scale, we learned how to properly make a higher poly crate and exported it out as an fbx to later import into UE4.

Below is the proxy I made for the crate.

This next image shows the relationship of scale of the crate with the skeletal mesh of the UE4 model that I imported from the game engine.


Here we see the proxy crates in UE4 with the model. By doing this step, we have established the modeling pipeline, making it easier for when it is time to input the higher poly crate.


Finally, seen below is the wireframe of the higher poly crate that was made. This is a clean model with deleted history and parts that fit together perfectly like puzzle pieces.

Below is a render of the higher poly crate to better show how the geometry's grooves.


Thursday, September 24, 2020

Common Art Week 04

This week we focused on lighting. We brought in 3 models into Maya and gave each a different lighting set up. After setting up the scene with Arnold lights, I rendered them out through the Arnold renderer. 

I feel like I was a little dramatic with my lighting choices, I wanted each to have their own colors at different angles. After they were rendered out, I brought them into photoshop to mess with the colors further.

Below are the final renders of the models.


I also brought in my Lego ship and did the same lighting and editing process to reach this final result.


Monday, September 21, 2020

3D Week 04

Lego Project Part 02

This week we made blueprints in Unreal out of our Lego blocks to help builder bigger and better things.

To make the blueprints, I first assembled my Lego pieces in the viewport. After, I selected all the pieces and merged them so that I could drag them into the blueprint editor. From there, I gave them each a Scene component so that I would be able to move them around. Below are all the blue prints I made.


The first three images are for the beach landscape I wanted to do. The last image is the ship I had modeled all the original Lego blocks from. I was able to put them all together in Unity and fortunately most were to scale. There were some other pieces I had to take a second look at and edit in Maya so that they would fit in the ship.


After all my blueprints were done, I set up the beach scene for my houses and places where I wanted the objects to be. The final result is shown below. 


And here is my finished Lego ship.


Thursday, September 17, 2020

Common Art Week 03

This week we experimented with render passes in Photoshop. Using render passes of a 3D model can really help expedite one's workflow. 

I started with these 4 different render passes.


I used the line render pass as my base. Using the ID render layer, I was able to make easy selections and block in my colors.


I then included the render layer that held all the shadows (which cut off a lot of time that I would have spent shading). I tweaked the color some more and found a color palette I was more satisfied with.


After I was done playing around with the layers, I started painting over the model. I first started with painting the lighting and then moved to painting any other details on the car. I also painted over the human models so that they would match more with the piece. I gave them futuristic looking suits. I wanted the end piece to look like a group of travelers came across a beautiful fluorescent pink flowers with a starry sky.


Sunday, September 13, 2020

3D Week 03

Lego Project Part 01

For the lego project, I decided to models the parts for the ship seen below.


Here are the proxies I built in Maya.


Below are all my pieces imported into Unreal.


Thursday, September 10, 2020

Common Art Week 02

This week, we focused on silhouettes. Silhouettes are huge for making an iconic look for whatever is being made, could be a character, a castle, a ship, etc.

Below are some silhouettes (top-view) I made in Maya using a ship that was already there to use as a base. I wanted to create ships that resembled sea creatures. In my head I thought it would be a cool idea if these ships could go underwater in world with huge, dangerous sea creatures. I could also see these ships going into space, as if they're swimming through the galaxies.


I brought the silhouettes into Photoshop to add details to the shapes and make cleaner edges (my modeling skills aren't the best but we're working on that). I starting erasing parts of the silhouette, making it an accent feature to have some hollow spots in wings. It gave the ships a more technologically advanced look. 


Here we have the final designs for my aquatic-themed ships. I really enjoyed how Creature Box presented the silhouettes of their different creatures so I tried doing something similar in that sense. The parts colored in blue are clear glass bulbs attached to the ships, working as windows. Each ship design is supposed to be different from the next, some are built to be fast while others are meant to work like a tank, and some shoot guns or bombs while others shoot some sort of photon blast.


Monday, September 7, 2020

3D Week 02

 This week we made Minecraft-ish textures. It was a lot of fun making them and playing around with the pixelated style. We began by making a cube in Maya and then bringing in the UV dimensions into Photoshop to paint in.

I created a tree leaves texture, a grassy stone texture, and a water texture.


Below are the cube UV's and the cube.


Here we have a practice environment I did to show off the textures in Maya.


Here are my meshes and a snapshot of how my nodes are set up. I had multiple meshes due to slightly tweaking a texture in unreal without wanting to get rid of the original, just in case I wanted to go back to it.


Below is the little environment I did with my different blocks.


Thursday, September 3, 2020

Click me to check out my website! 

Click the link, click it :)

Common Art Week 01

In this week's lesson, it was emphasized that complicated structures look intimidating when seen as a whole, but when broken down, we can see that they are made up of a bunch of simple shapes.

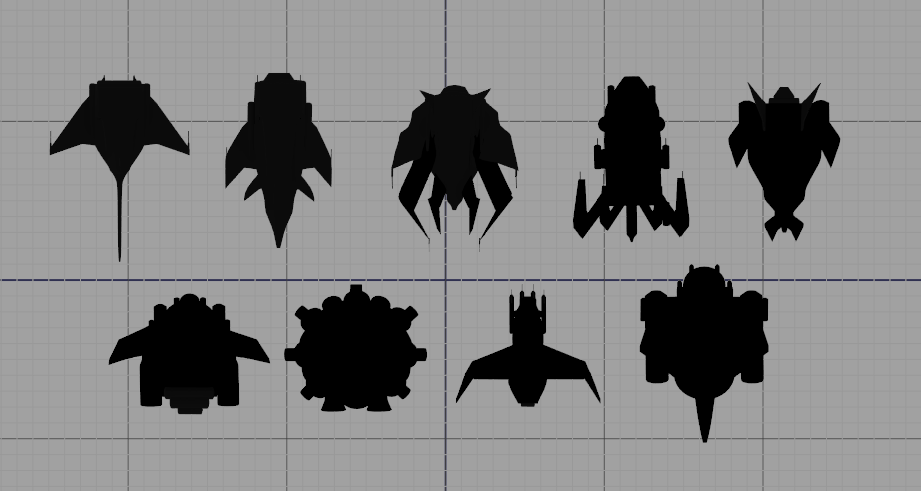
We were asked to look at the artist Sparth and choose an interesting design from his drawings. I noticed trends on how he composed his work and different ways he constructed buildings. Below are some images that I was able to take ideas from.


What I found was that each image had structures seen in the distance, with something in the foreground to emphasize the scale of what was being seen. The environment itself is set in a way that helps with movement in each piece, making it even more visually interesting.

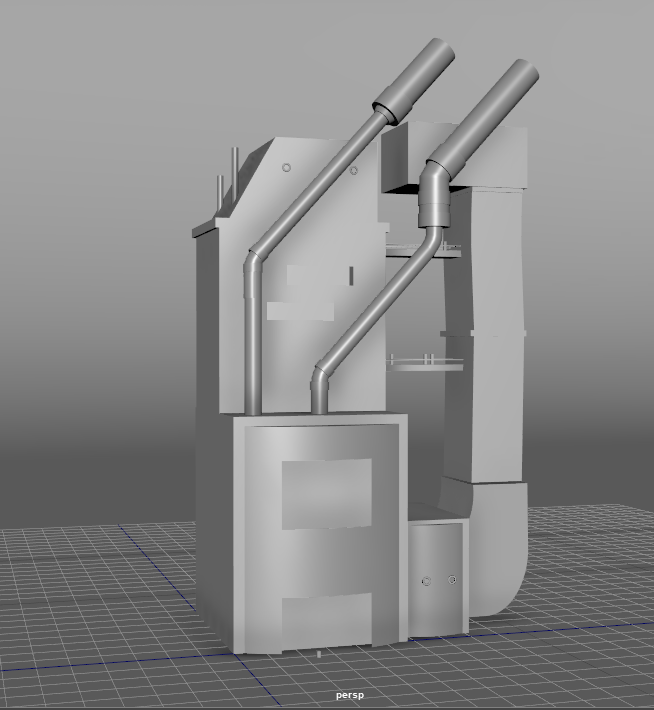
The aim of the lesson was to mash up a bunch of shapes to make an interesting structure. I randomly came across a picture of what looked like to be some sort of air conditioner (although I could be mistaken) but I found the shape of it to be interesting and thought it would be a cool design for a building reminiscent to Sparth's structures. I then took a bunch of cubes and cylinders and put them together to make what looked like a factory. I added bridges and doorways for tiny people to walk through.


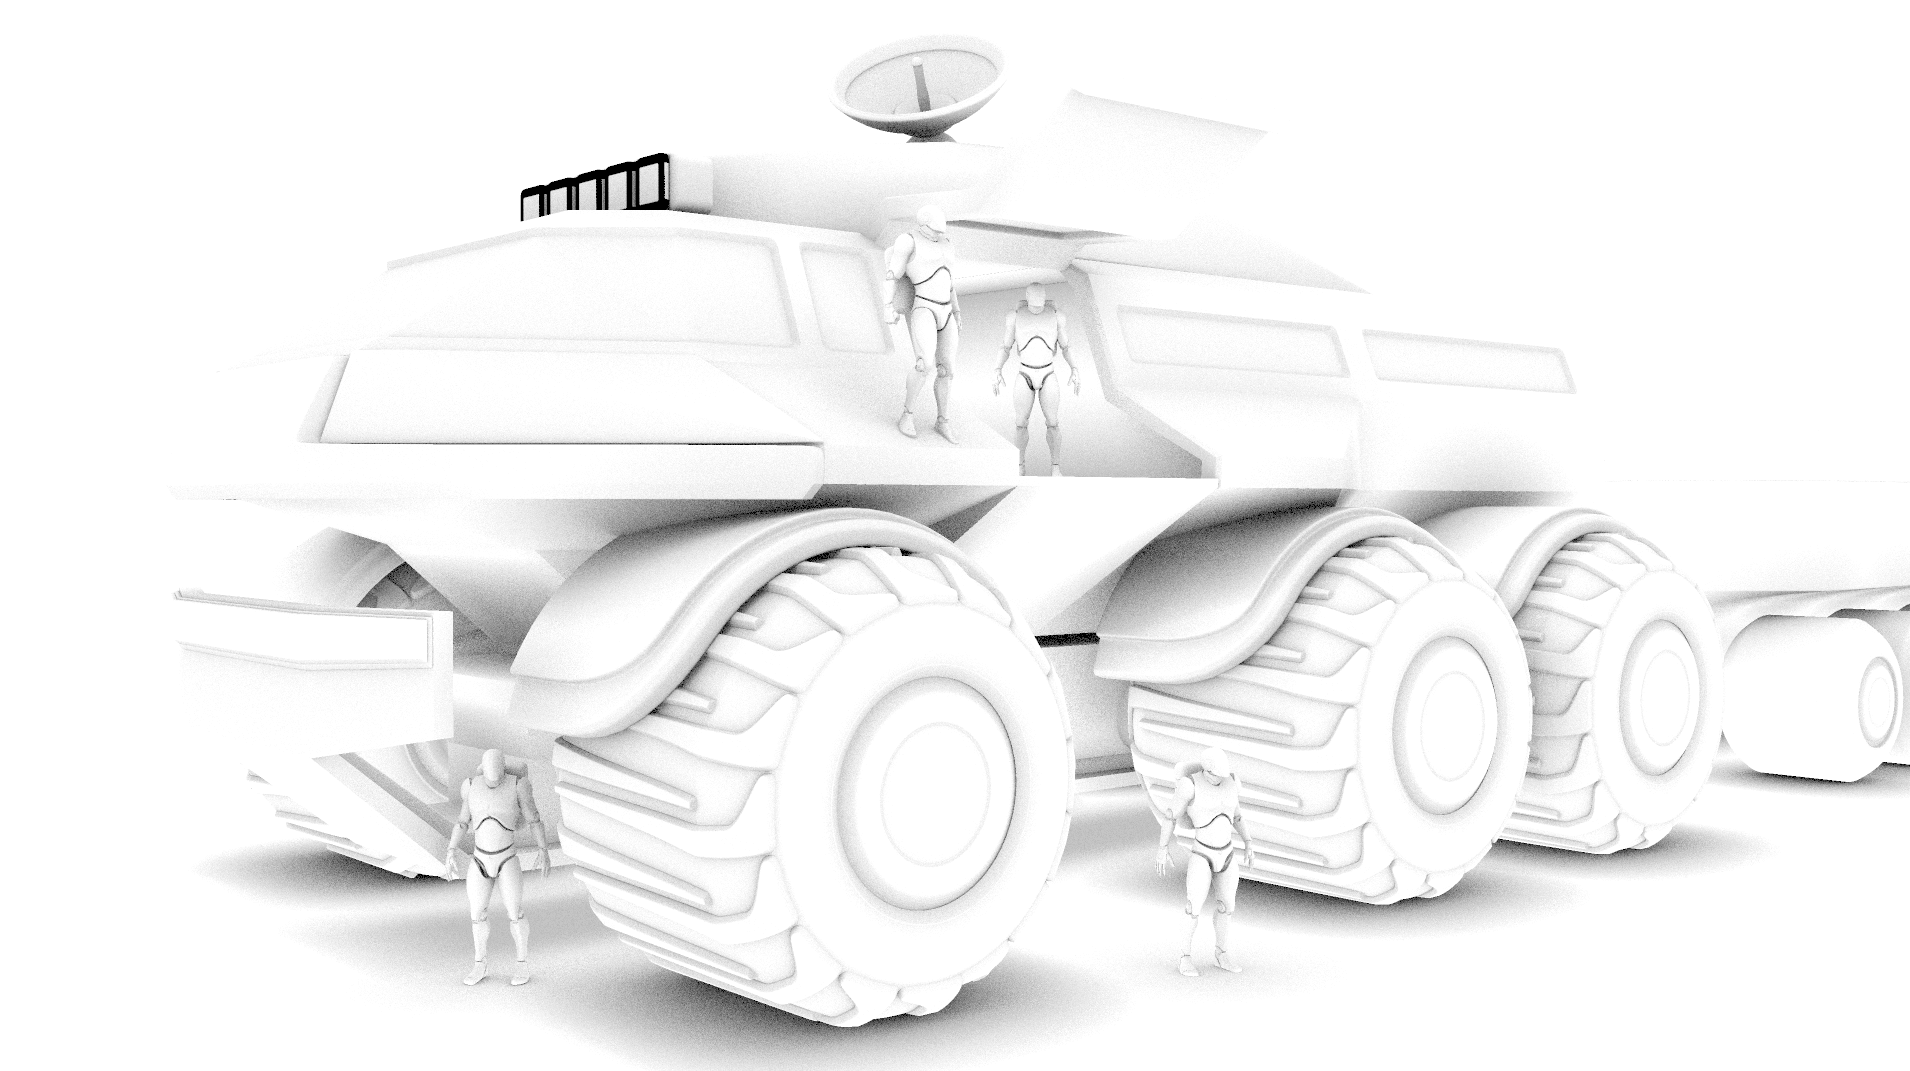
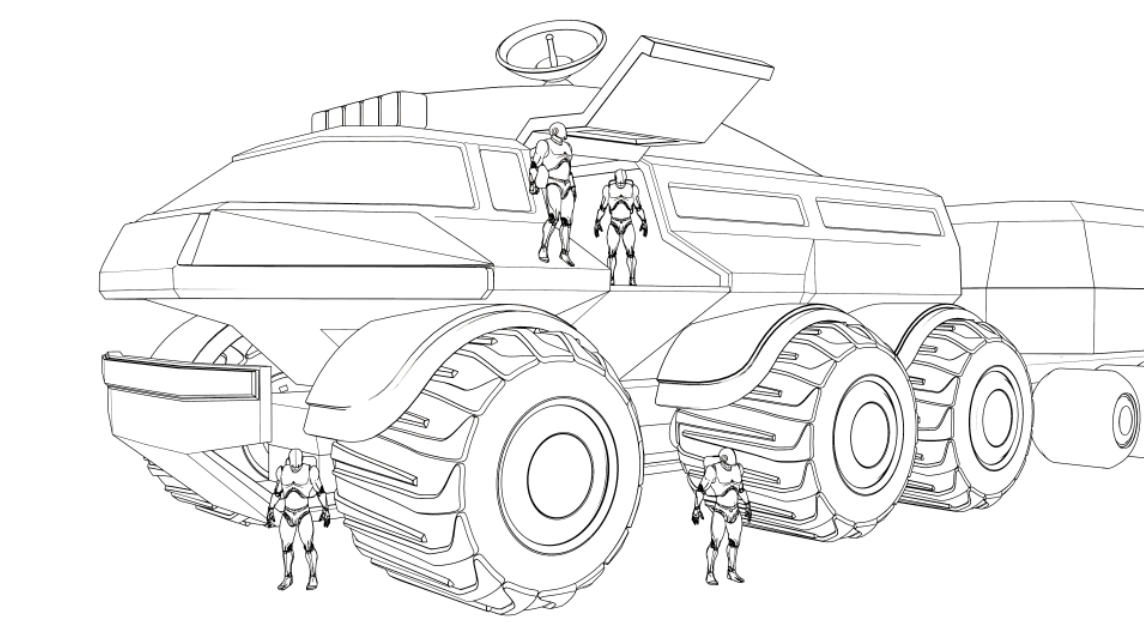
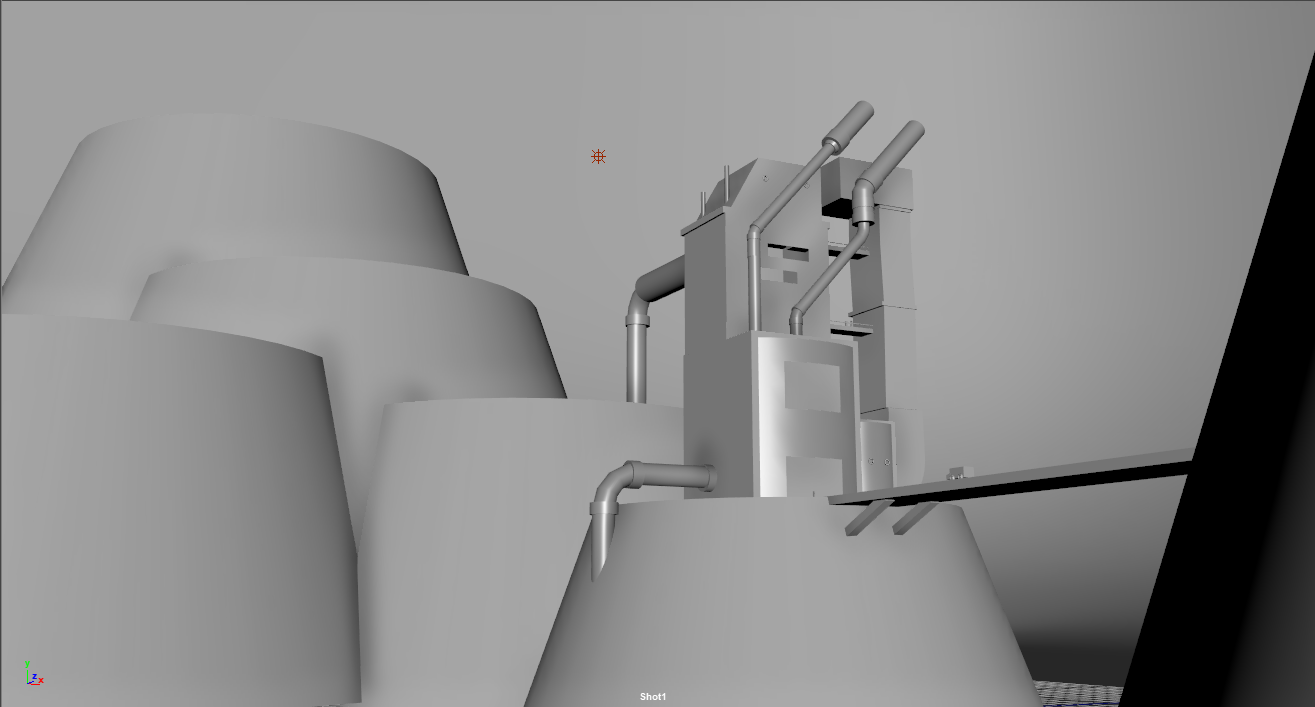
After modeling the factory, I wanted to make some sort of rough environment layout to set up what kind of angle I wanted for the building. Since Sparth's buildings tended to be elevated, I decided to have the factory set on some sort of mountain. I wanted to add more pipe elements so I attached some to the side and back of the building, which gave me the idea of there being some sort of waterfall behind the factory, flowing over the mountains. Now the questionable air conditioning building looks more like some sort of water plant, drawing water from the waterfall (that will later be seen more clearly in the illustration).

I also later added a bridge and a car to help emphasize the scale of the building while also leaving some room in the foreground for me to add stuff in the final drawing.


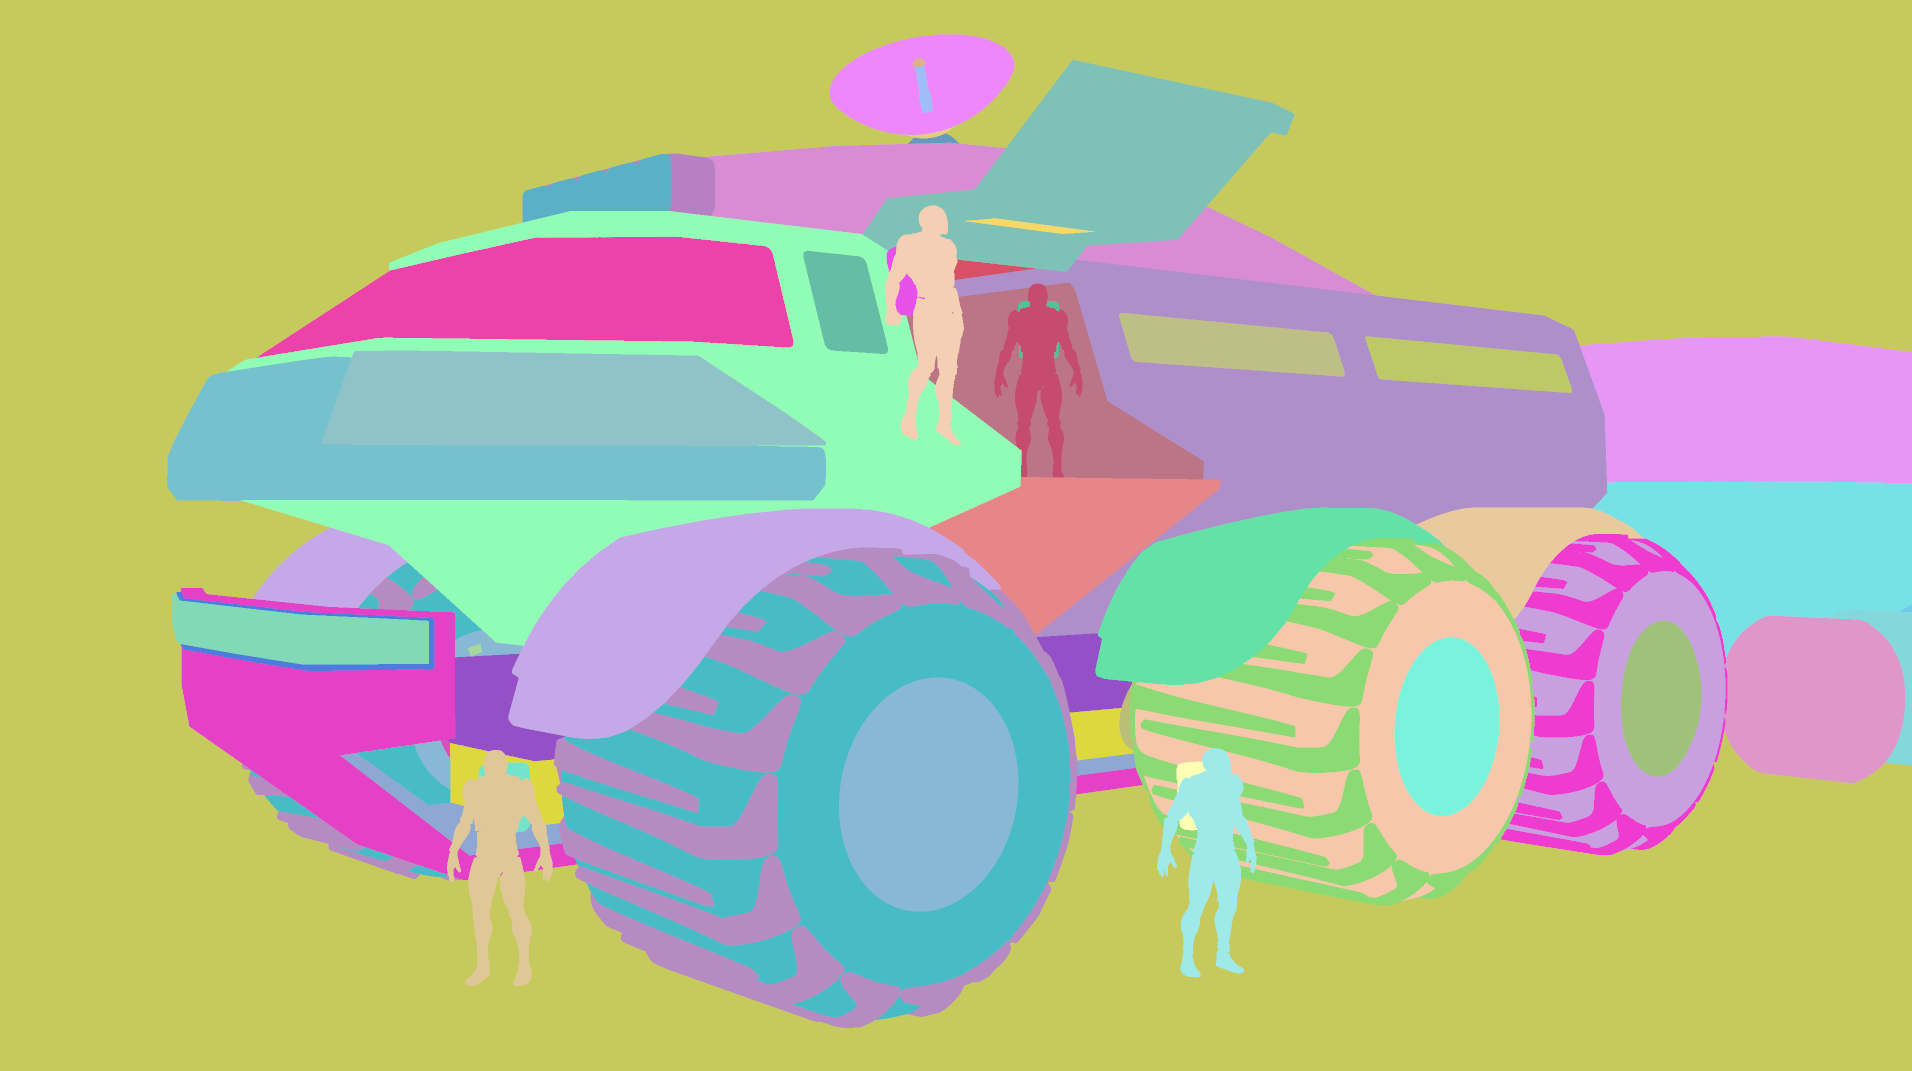
Once I was satisfied with the composition of the building, I played with the lighting a bit to get an idea of where shadows would fall. In the outliner, it can be seen that I grouped elements together for the sake of organization (no one likes a messy outliner).


Once in photoshop, I set up a vertical canvas and set up my screen shot on there to then start painting over it. I started by blocking out the colors to later paint more detail on them.


I tried showing my coloring process below in the left column. Sparth had lots of contrast and texture in his painting so I wanted to try emulating that as best I could. The image on the right was a rough first pass at the painting. I was struggling a lot with the colors because they didn't pop as much. I also wasn't loving the factory...


Below are the second two passes I had on the painting. As you can see, the factory went through many different renditions. I realized that the issue I had with the factory was that it felt like it had no textures compared to its surrounding environment and its color overall was very bland. I tried adding more color to the factory by giving it a completely different color palette to then adjust the environment's color palette around that. 


So after hours of figuring out where I wanted to go with this piece, I was finally able to find colors that satisfied me as well as a factory that I was happy with (for the most part). I noticed Sparth's paintings to be very saturated so I really wanted to make my colors pop. I tend to struggle a lot with environments so I wanted to take advantage of this assignment to grab the bull by the horns and try to improve on environmental paintings. I'm happy with how this painting came out, but I know I still have a long way to go.